The Glymur Waterfall trail is widely regarded as Iceland’s most stunning and accessible hike. Located just an hour’s drive from Iceland’s Capital; Reykjavik, it makes for an ideal day trip for those seeking a fulfilling outdoor adventure.
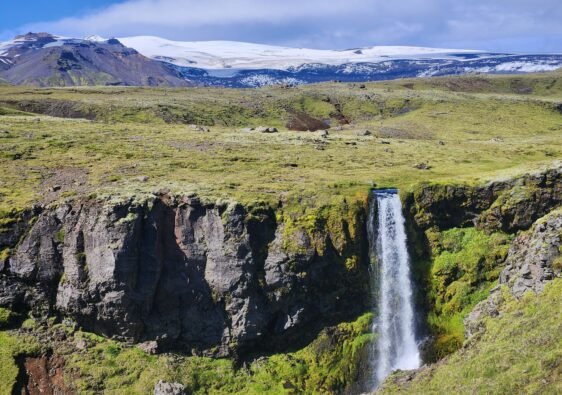
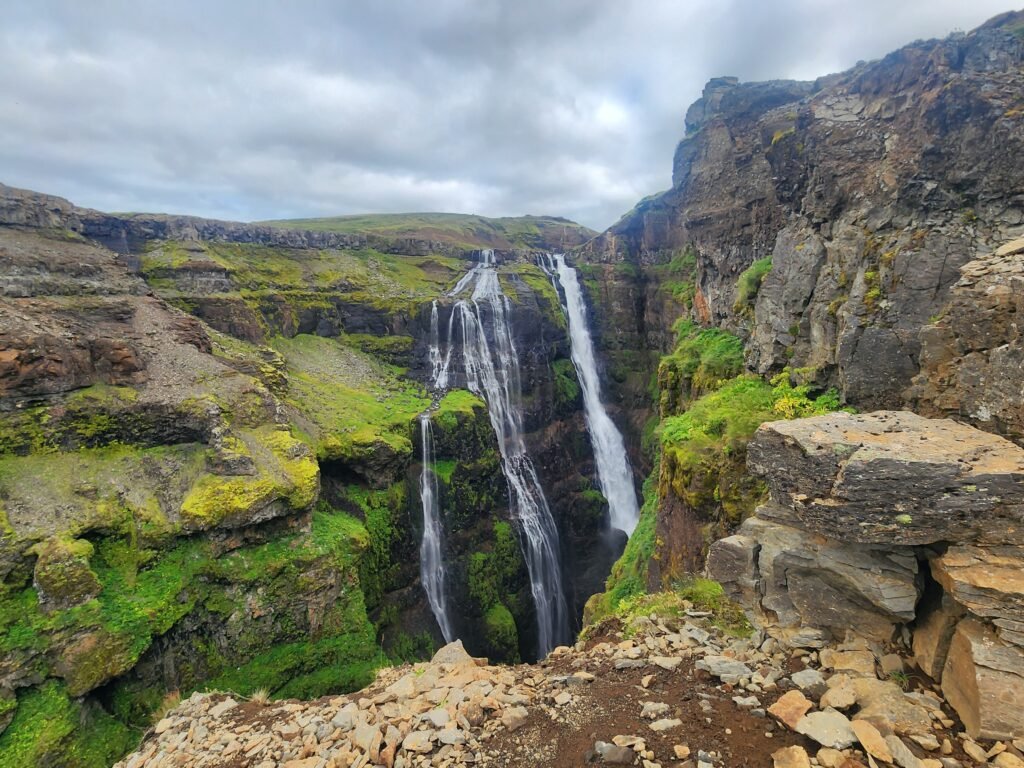
Glymur Waterfall’s most striking feature is the 198m drop, making it the second tallest waterfall in Iceland.
The trail offers a diverse experience with constantly changing terrain, picturesque waterfalls, and two river crossings that add a touch of excitement.
This hike is particularly appealing to adventure seekers who want a bit of everything—scenic views, challenging terrain, and the thrill of crossing rivers.
This trail guide is designed to provide you with essential information, including directions to the trailhead, an overview of the route, and tips for safely navigating the river crossings, especially if you’re hiking with a child.
I’ve included details on what to expect at each stage of the hike, ensuring you’re well-prepared to make the most of your adventure while staying safe and comfortable.
Disclosure: I only recommend products I would use myself and all opinions expressed here are my own. This post may contain affiliate links that at no additional cost to you, I may earn a small commission.
Table of Contents
Glymur Waterfall Trail Information
- Distance: ~7km
- Elevation Gain: 394m
- Trail Type: Loop
- Difficulty: Moderate
- Facilities: None
Difficulty Rating
I would rate this hike as moderately challenging due to several factors:
Rocky Terrain: Much of the trail consists of rocky, narrow paths. While experienced hikers can navigate these sections with relative ease, the loose rocks and uneven footing may pose difficulties for those who are less familiar with this type of terrain.
Additionally, there are several exposed areas with significant drop-offs, which can be particularly daunting and hazardous, especially in wet conditions.
Weather: Iceland’s weather is notoriously unpredictable and can change rapidly. Strong winds and rain can significantly increase the difficulty of this hike, making already challenging conditions even more strenuous. Although we enjoyed pleasant weather the day we hiked Glymur, we did, on a different day, cut another hike short due to high winds. This highlights the importance of being prepared for sudden weather shifts.
River Crossings: The trail includes two river crossings that require careful attention. It’s essential to check the conditions of the rivers or creeks before setting out, as they can swell considerably during spring runoff or thunderstorms. Circumstances like these make the crossings much more difficult and potentially dangerous.
Overall, while the trail offers incredible scenery and a rewarding experience, it’s important to come prepared for the challenging terrain and variable weather conditions.
River Crossing Tips
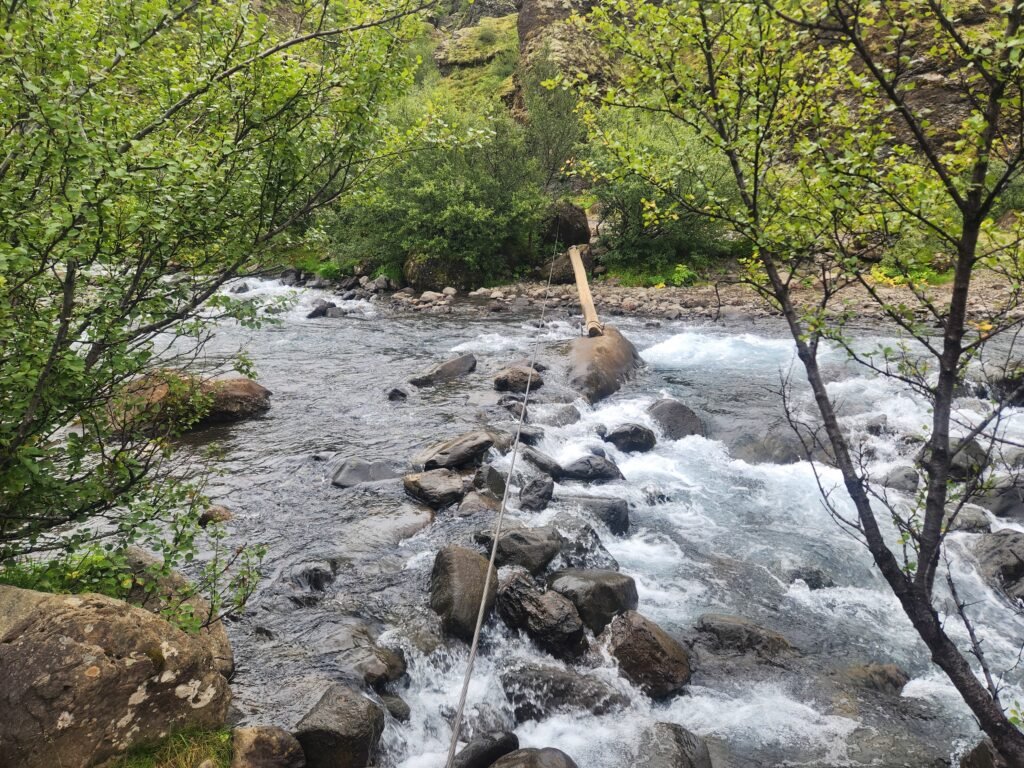
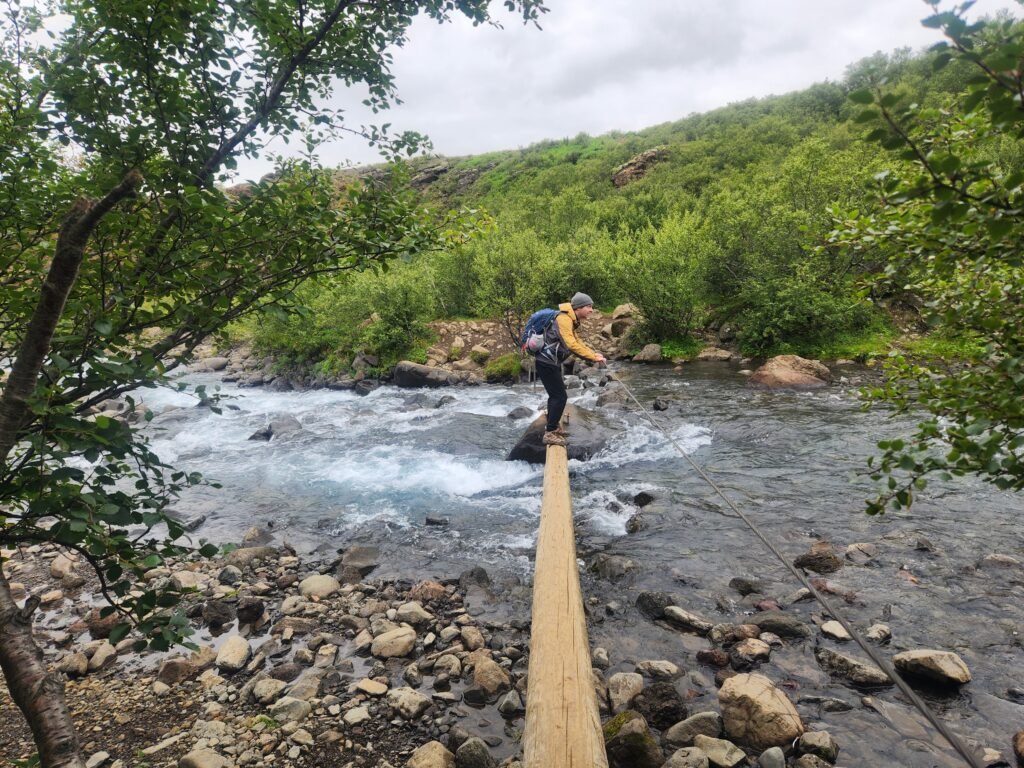
The first river crossing involves a passing through a section that is equipped with several rocks, a log, and a wire to assist hikers. I chose to remove my shoes for this crossing, but my husband and child kept theirs on—whatever makes you feel more confident and comfortable is best.
The trickiest part is reaching the wire, which initially seems set farther from the rocks used to assist your crossing. Once you get past the first four or five rocks, the wire becomes more accessible and aligns better with the log.
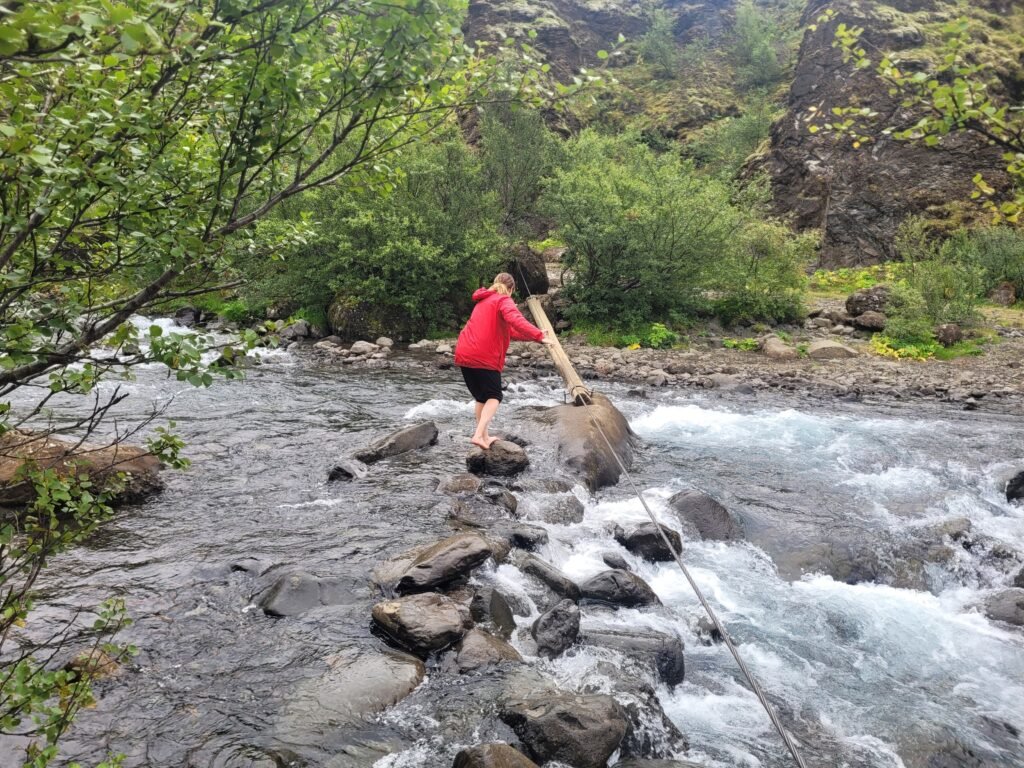
My daughter needed a bit of help with the wire, but she managed to navigate the log on her own. Note that the log is in place from spring to autumn and is removed during the winter months.
The second crossing is longer and potentially deeper, depending on where you choose to cross. The water here is notably colder and will likely leave you wet.
For this crossing, it’s advisable to come prepared with water shoes, or to go barefoot—though be aware that the rocks can be sharp and uncomfortable. I noticed some hikers braving the crossing in their hiking boots, but this results in cold, wet feet for the remainder of the hike, which I would not recommend.

We opted to go barefoot and took a short break on a nearby island to warm up our feet before continuing. We also carried our daughter through this section, as she preferred not to walk through the chilly water.
Trailhead Location/Parking
Glymur Waterfall is located approximately 1 hour northeast of Reykjavik. The drive is straightforward, primarily along paved roads until you reach the turnoff for the trailhead.
At this point, the road turns to gravel; however, it remains accessible for both 2WD and AWD vehicles.
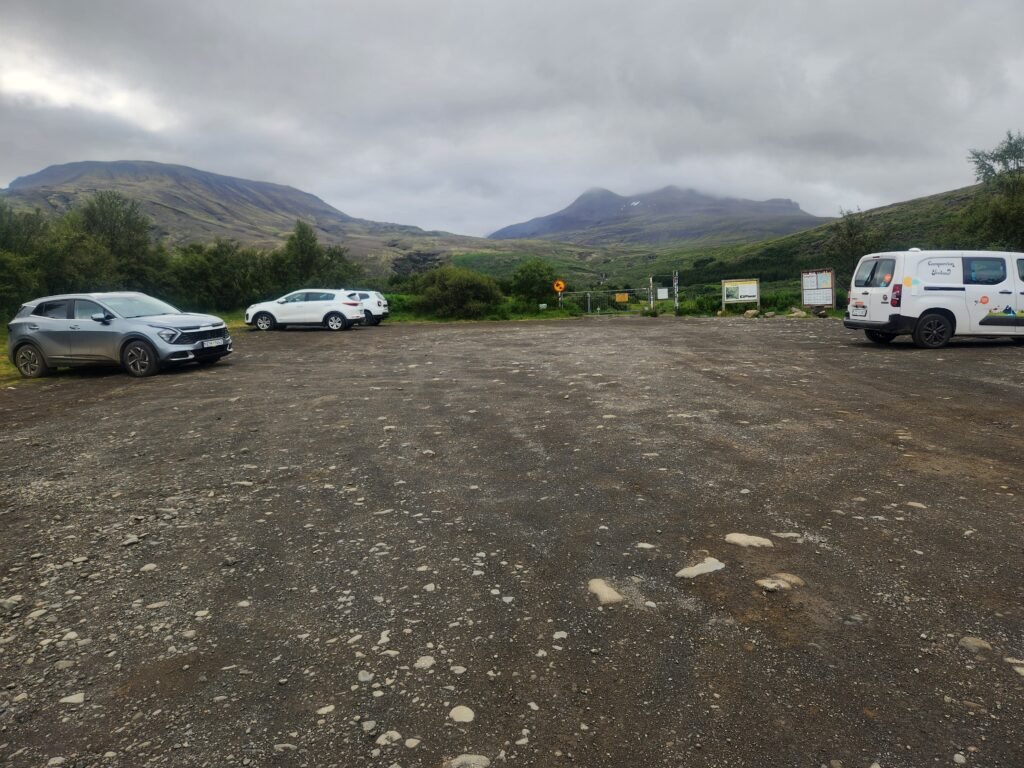
There is ample free parking available at the trailhead. We arrived shortly after 9am and found the parking lot nearly empty, but by the afternoon, it had filled up considerably.
To avoid the crowds and secure a good parking spot, I recommend arriving before 10am.
Be aware that there are no washroom facilities at the trailhead, so it’s wise to plan ahead and take care of any restroom needs before you start your hike.
Additionally, given the remote location, it’s a good idea to bring any necessary supplies with you, as there are no amenities available nearby. Just remember to pack out whatever you bring.
Trail Direction
This trail is a loop, allowing you to hike in either direction. The trail split is a few short minutes past the starting point and is clearly marked.
For the most breathtaking head-on views of Glymur Waterfall, I strongly recommend following the signs and hiking counterclockwise, which means turning right at the trail intersection.
This direction provides the best vantage points and also helps you avoid the steeper ascent that comes with hiking clockwise.
By choosing the counterclockwise route, you’ll encounter the more gradual, scenic approach to the waterfall and have the chance to fully appreciate it from the ideal viewpoints.
Additionally, starting this way allows you to tackle the more challenging parts of the trail earlier on, leaving the latter part of your hike on a less strenuous note.
Glymur Waterfall Trail Route Overview
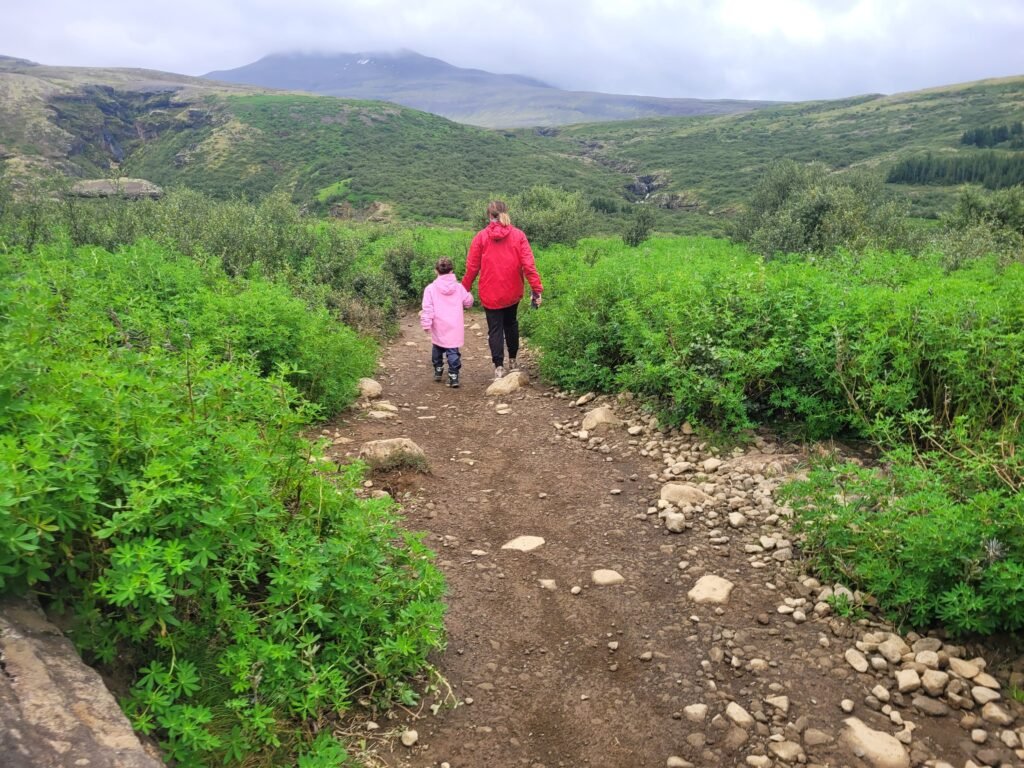
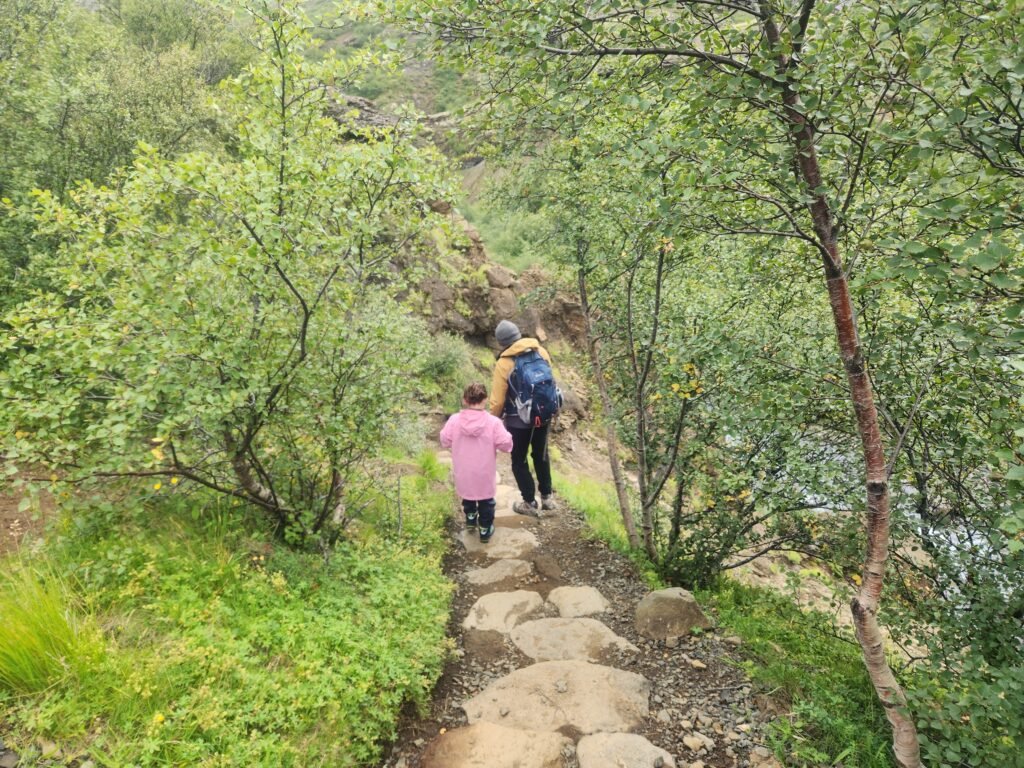
From the parking lot, it takes approximately 1.5 kilometers to reach the first river crossing. The trail starts off flat and easy to navigate, meandering through small brush and offering a gentle introduction to the hike.
As you approach the 0.5-kilometer mark, you’ll encounter two paths. Follow the green signs and take the path on the right; you will return via the left path on your descent, making a note of this junction will help you on your way back.

A little past the 1-kilometer point, you will come across a set of stone stairs that descend into Þvottahellir Cave.
The path through the cave is quite short. There is a moderate descent down as the path curves and the exit can be seen. It can be quite dark as well, so it’s advisable to use a flashlight or your phone to help navigate through this section safely.
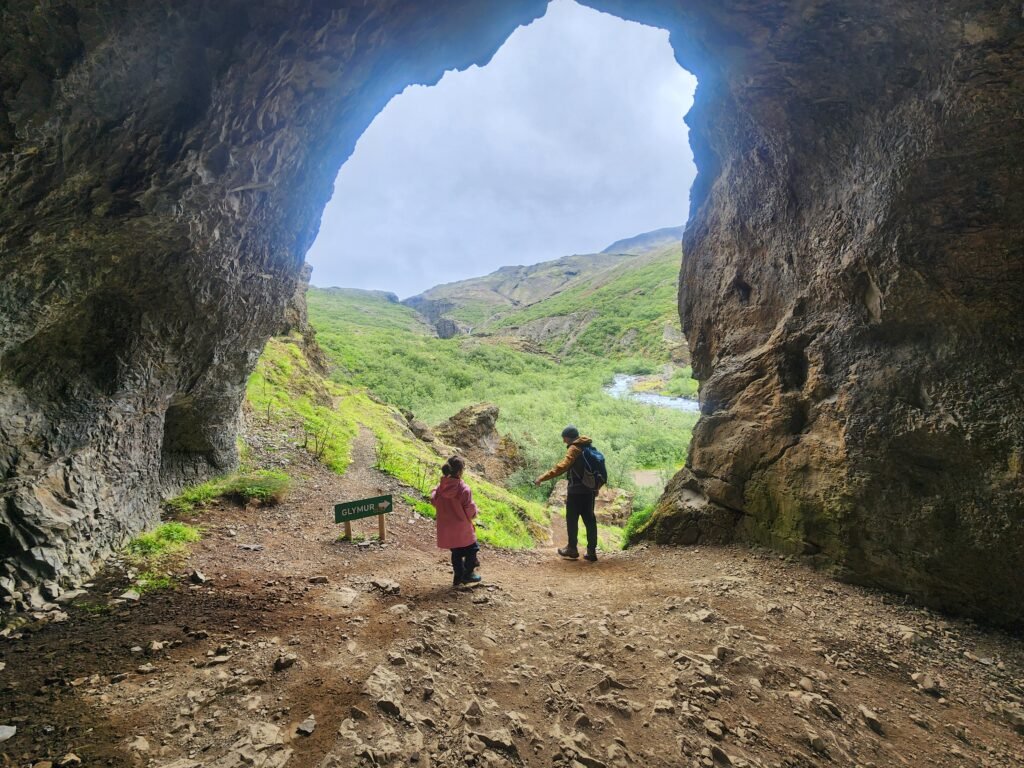
For those who may be anxious about the idea of hiking through the cave, Þvottahellir Cave can be walked through in less than 30 seconds and you are never completely in darkness.
Either one of the entrance or exit can be seen at all times.
After emerging from the cave, you will see the first river crossing to your left. This crossing involves navigating across the Botsna River using the provided rocks, wire, and log for support.
Be cautious as you traverse these elements to ensure a safe and stable crossing.
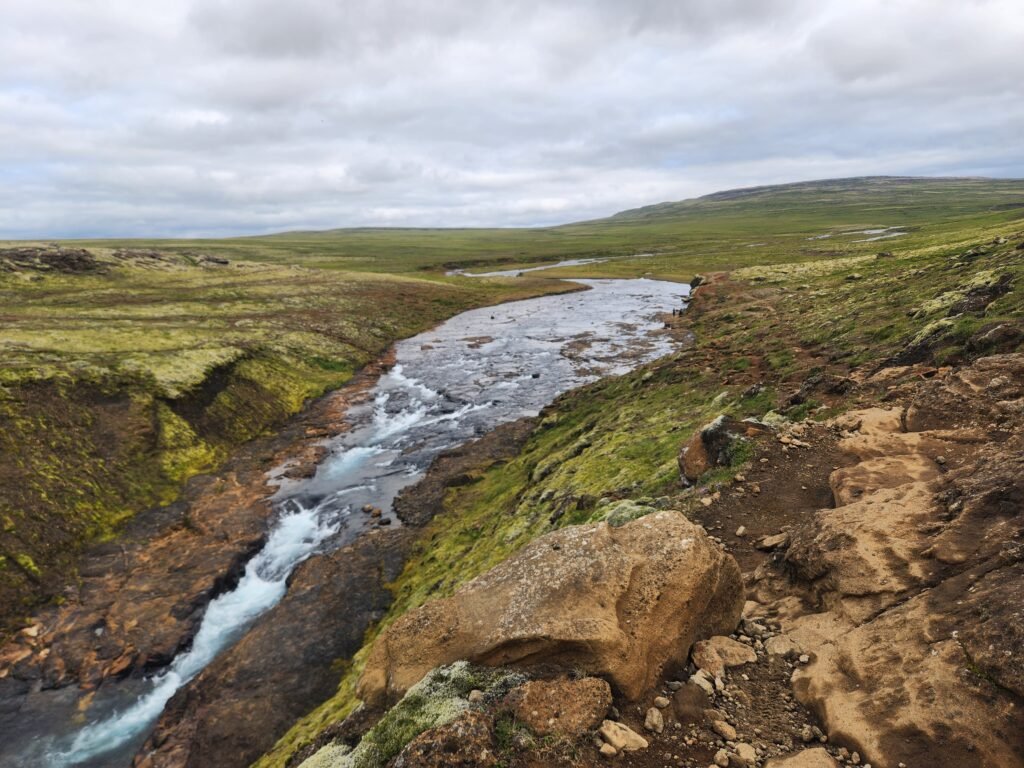
Glymur Waterfall to Second River Crossing
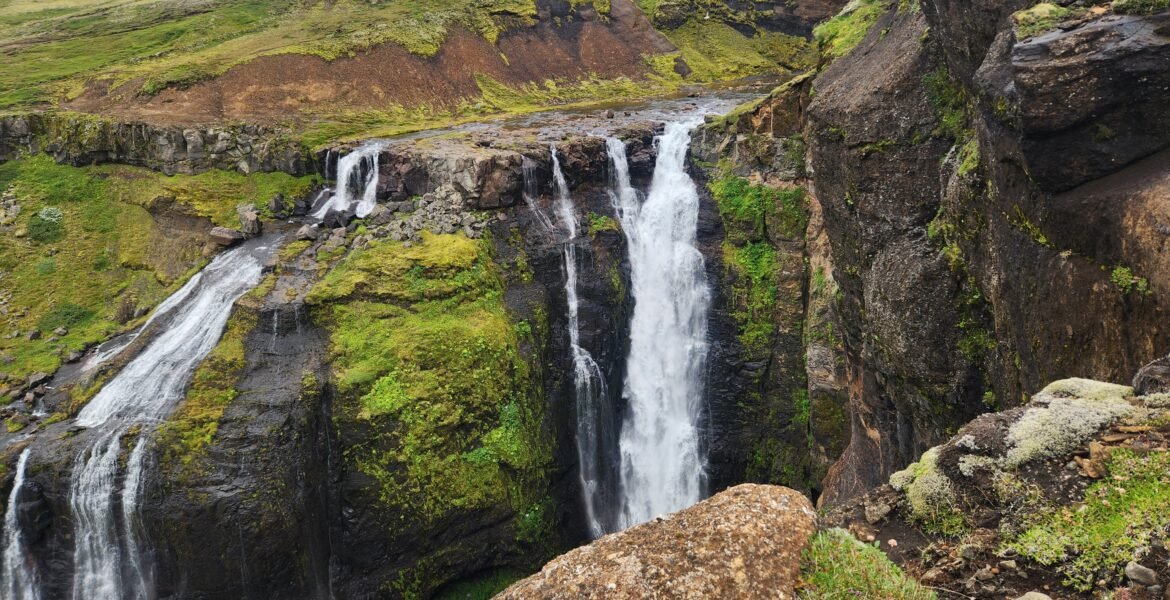
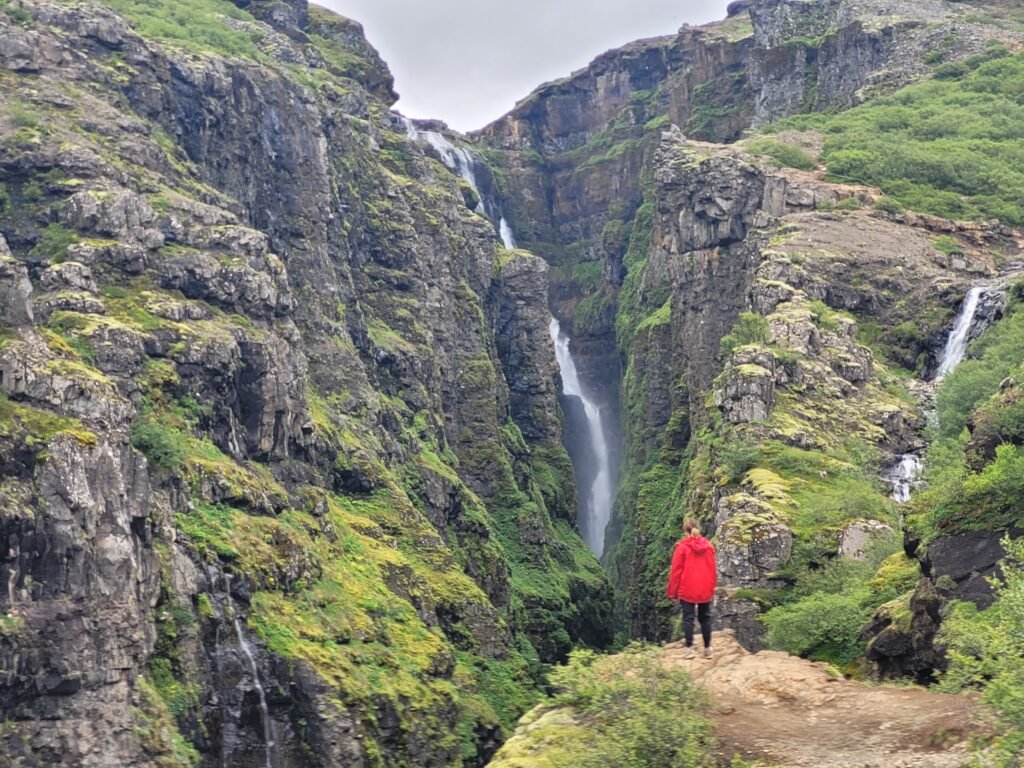
From the first river crossing to the second is just under 2 kilometers. This segment of the hike is the most picturesque, offering multiple fantastic viewpoints of Glymur Waterfall.
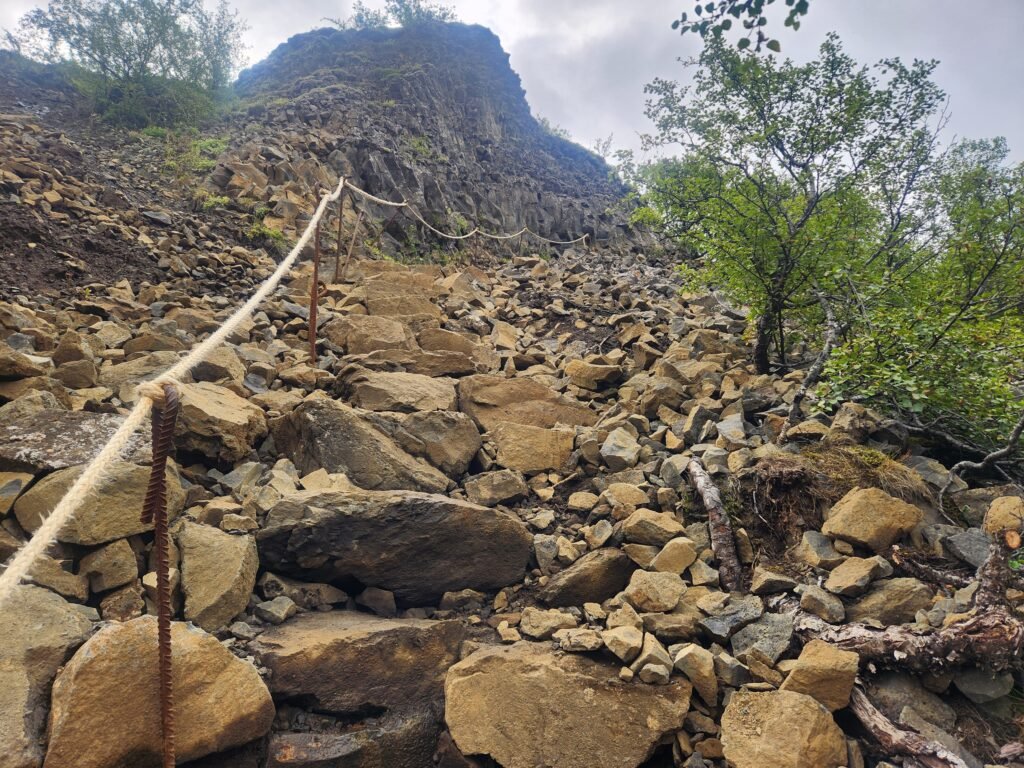
Immediately after the crossing, the trail becomes quite rocky and begins a gradual ascent. This section can be challenging, especially in wet conditions or if hiking with young children.
While there are stakes and ropes to guide you upward, it’s best not to rely on them for support, as they might be unstable or easily dislodged.
Be cautious of loose rocks and take your time navigating this rugged terrain.
As you continue, you’ll walk alongside Glymur, then ascend to the left side of the waterfall, following the trail upstream.
The path hugs the edge of the cliff, so it’s crucial to exercise extreme caution in this area. The trail can be very narrow, so be mindful of other hikers and give each other space.
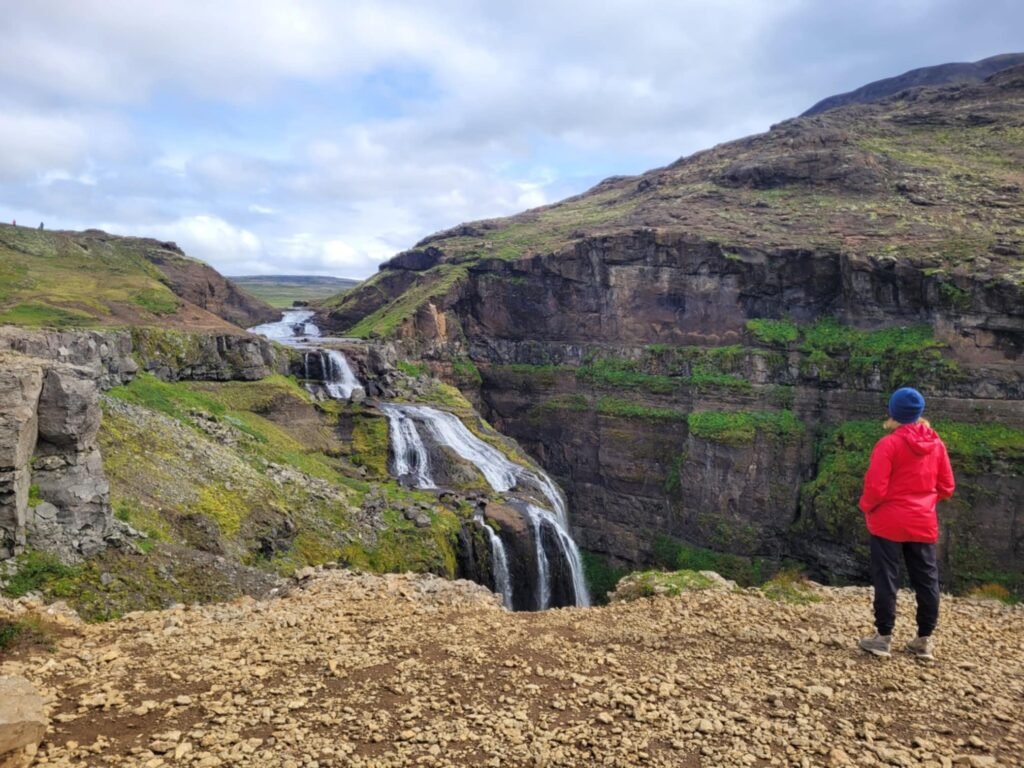
When the trail starts to flatten out again, you’ll reach the second river crossing. You can cross the river at various points, as there are multiple paths to choose from.
We opted for a narrower section of the river, which was approximately 100-200 meters farther than the location suggested by the AllTrails map.
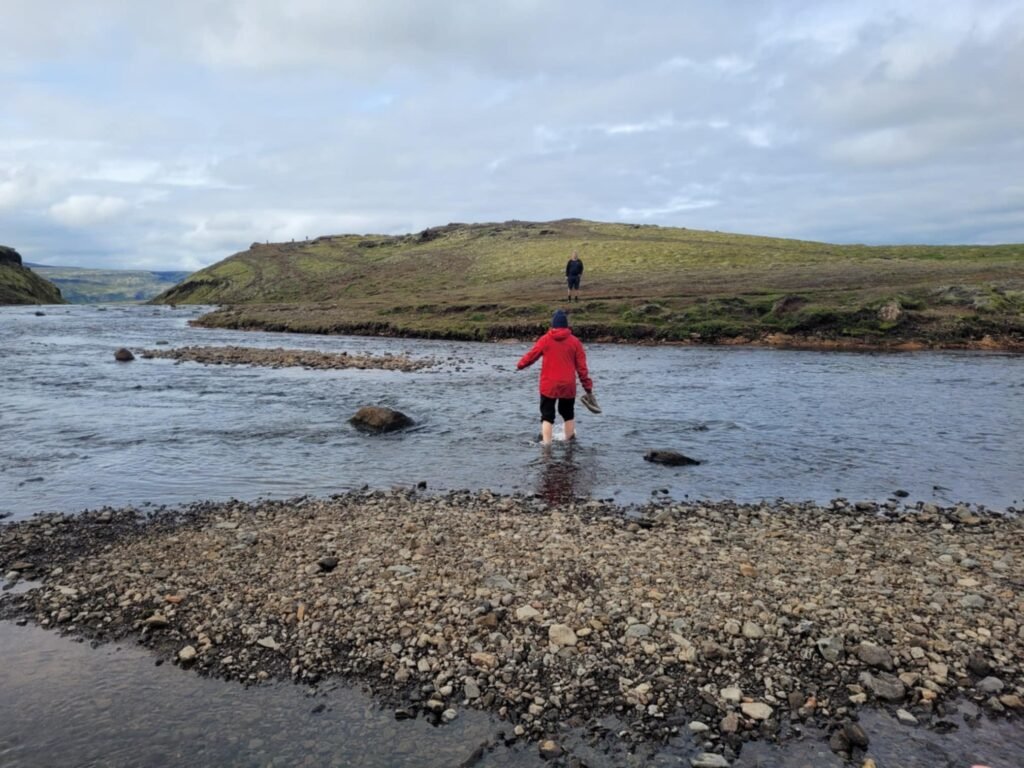
This part of the river was about shin-deep and 20-30 meters across.
We found a small rock island in the middle to rest and warm up our feet before continuing, as the water was quite chilly and the rocks were uneven.
Descent to Parking
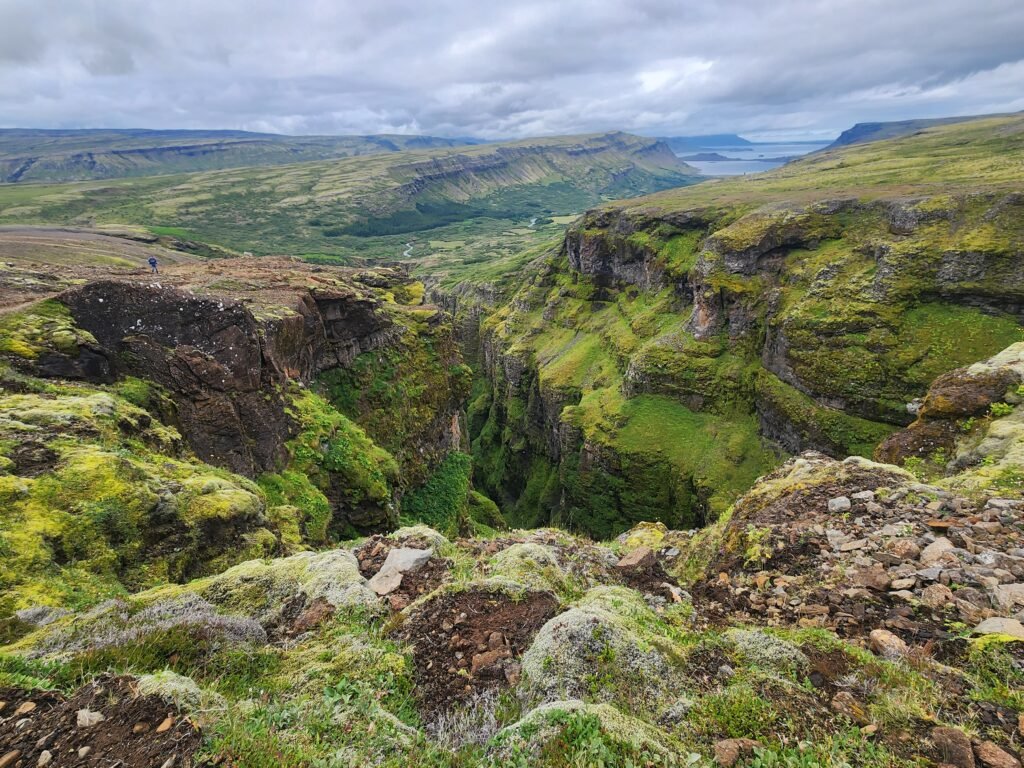
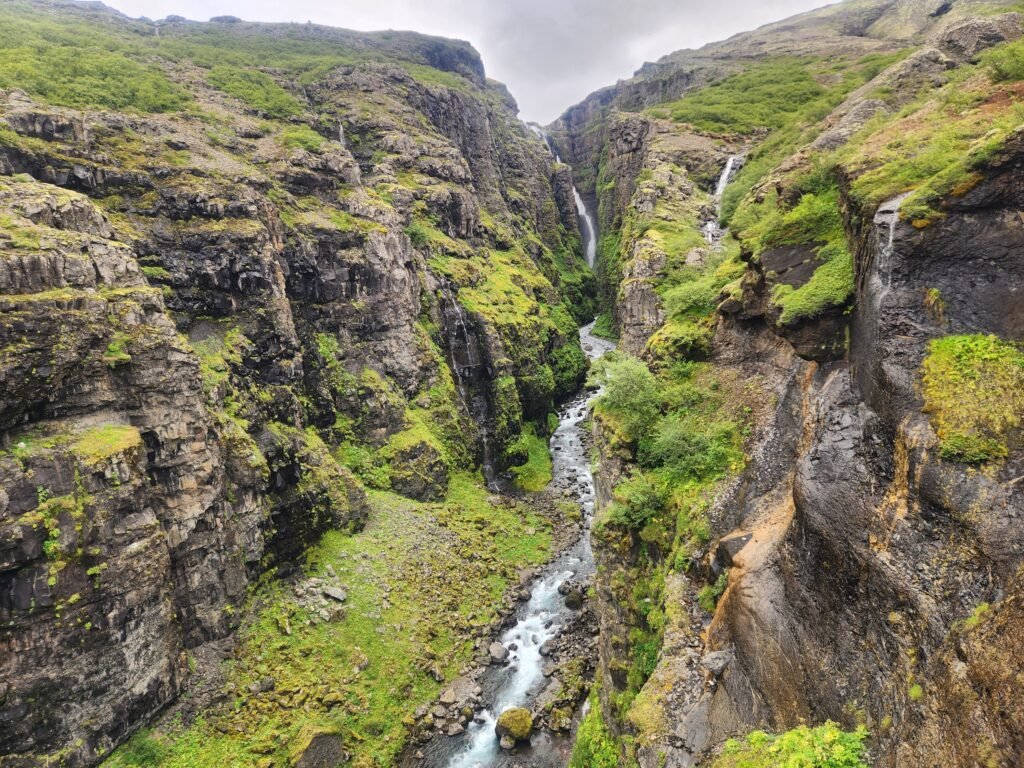
The descent from the second river crossing to the parking lot covers just over 3 kilometers. As you make your way back, the terrain shifts from rugged canyons to more open plateaus.
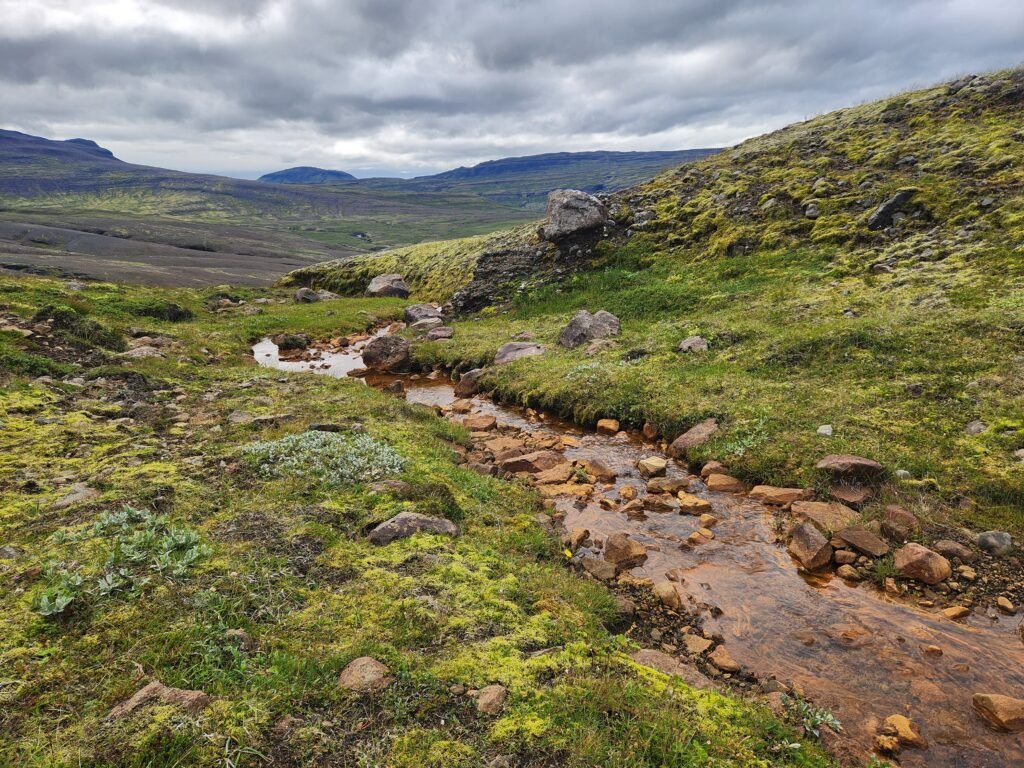
While this section might not be as dramatic as the earlier parts of the hike—especially as Glymur Waterfall fades from view—the plateau offers its own unique beauty.
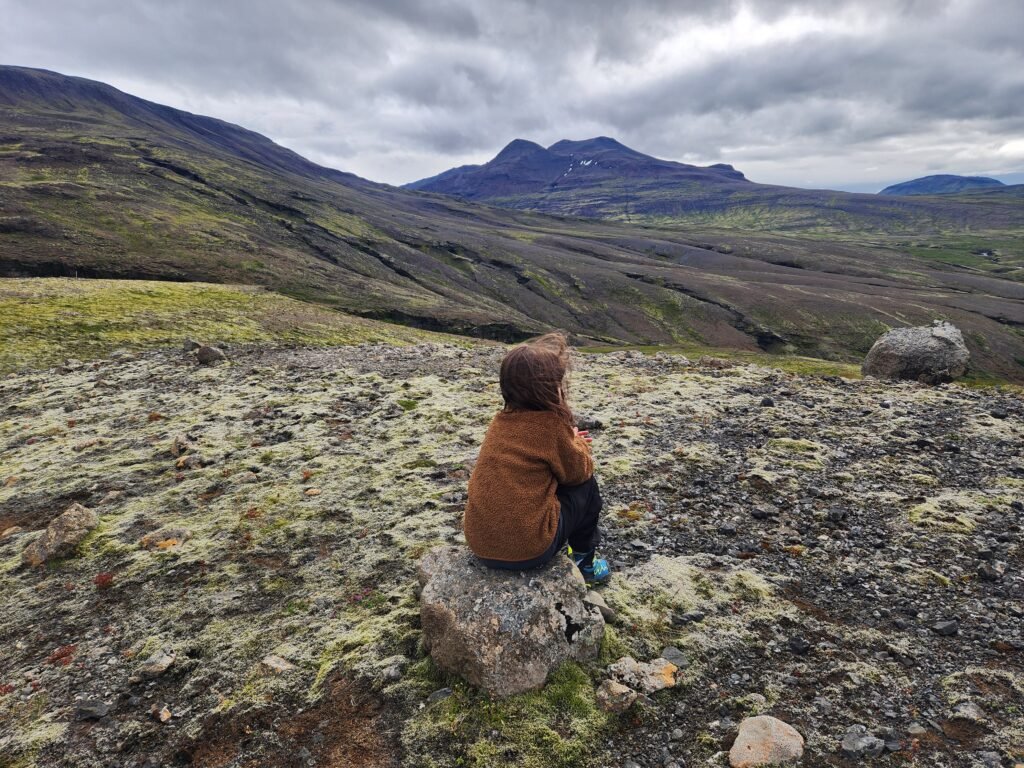
You’ll encounter rocks covered in lush moss, expansive barren landscapes, and wide-open plains that create a serene backdrop for the descent.
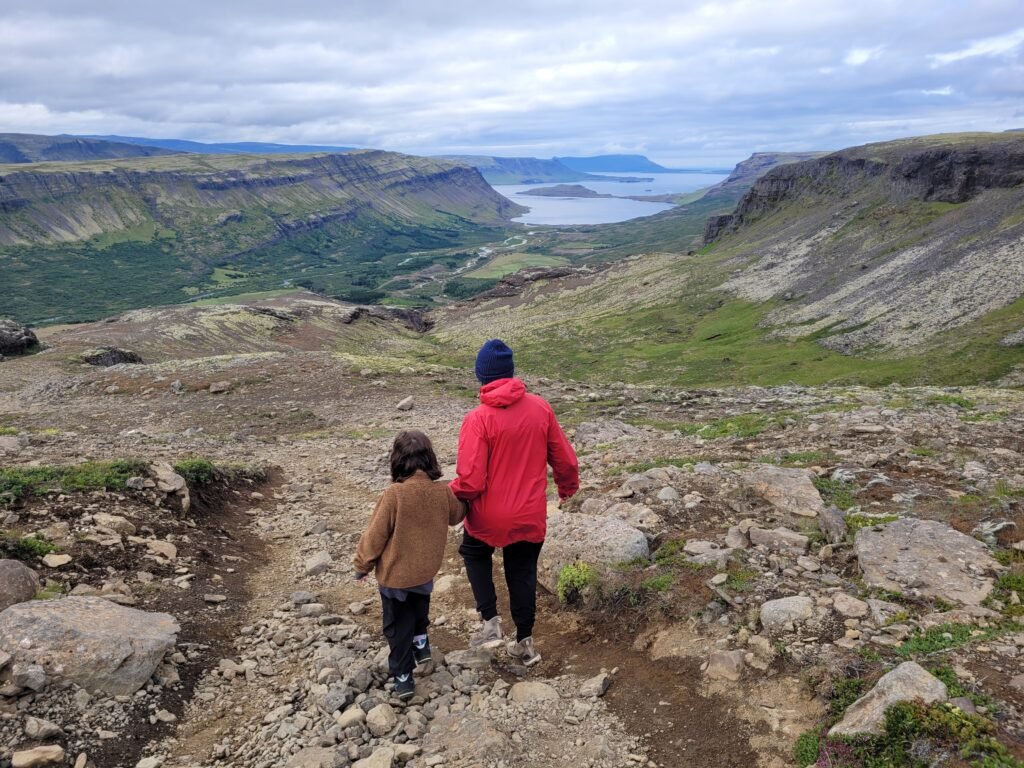
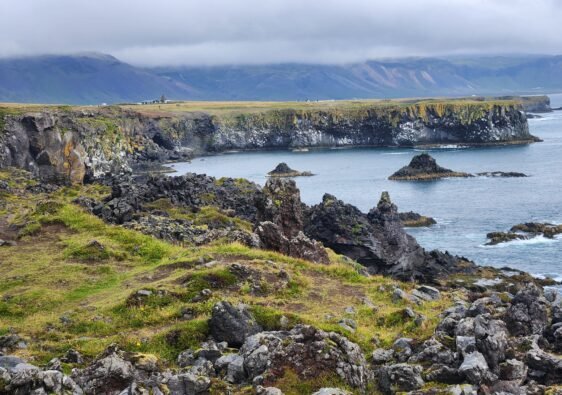
Along this portion of the trail, you’ll also be treated to striking views of three picturesque coves: Botnsvogur, Djúpivogur, and Helguvik.
These scenic vistas add a final touch of beauty to the hike as you gradually reconnect with the original route.
Following this familiar path will guide you back to the parking area, completing your loop and allowing you to reflect on the stunning landscapes you’ve experienced.
Places To Stay Near Glymur Waterfall
Akranes is a charming small fishing village located about 40 minutes from Glymur, making it an ideal base for exploring the area.
It offers all the amenities you need without the bustling atmosphere of Reykjavik, providing a more relaxed and intimate experience.
Móar Cottage: This cozy cottage features free Wi-Fi, complimentary parking, a fully equipped kitchen, and a private bathroom. Guests can enjoy stunning views of the sea and mountains from the property.
Teigur Guesthouse: Offers free parking and shared facilities, including a bathroom, kitchen, and lounge area. There is also the option to book the entire unit privately, and guests have access to a washing machine
Icelandic Lake House: A one-bedroom, one-bathroom cottage with beautiful mountain views. It includes a terrace and a hot tub, perfect for relaxing after a day of exploration.